


Raise your hand if you love a good session 🙋🏻♀️, now raise your hand if you hate ash and residue 🙋🏻♀️. Perfect, cause keeping your Ashtray and Stash Jar clean isn’t just about aesthetics—it’s about maintaining that effortless vibe we all enjoy. Here’s a lil guide on how to keep your gear looking fresh and ready for your next session.
Why Should You Clean Your Ashtray and Stash Jar?
A clean Ashtray and Stash Jar mean no leftover odors, no sticky residue, no overflow of ash and a much more pleasant experience. It's now part of my routine and I will never look back.
What You’ll Need: We've Got A Few Options For You
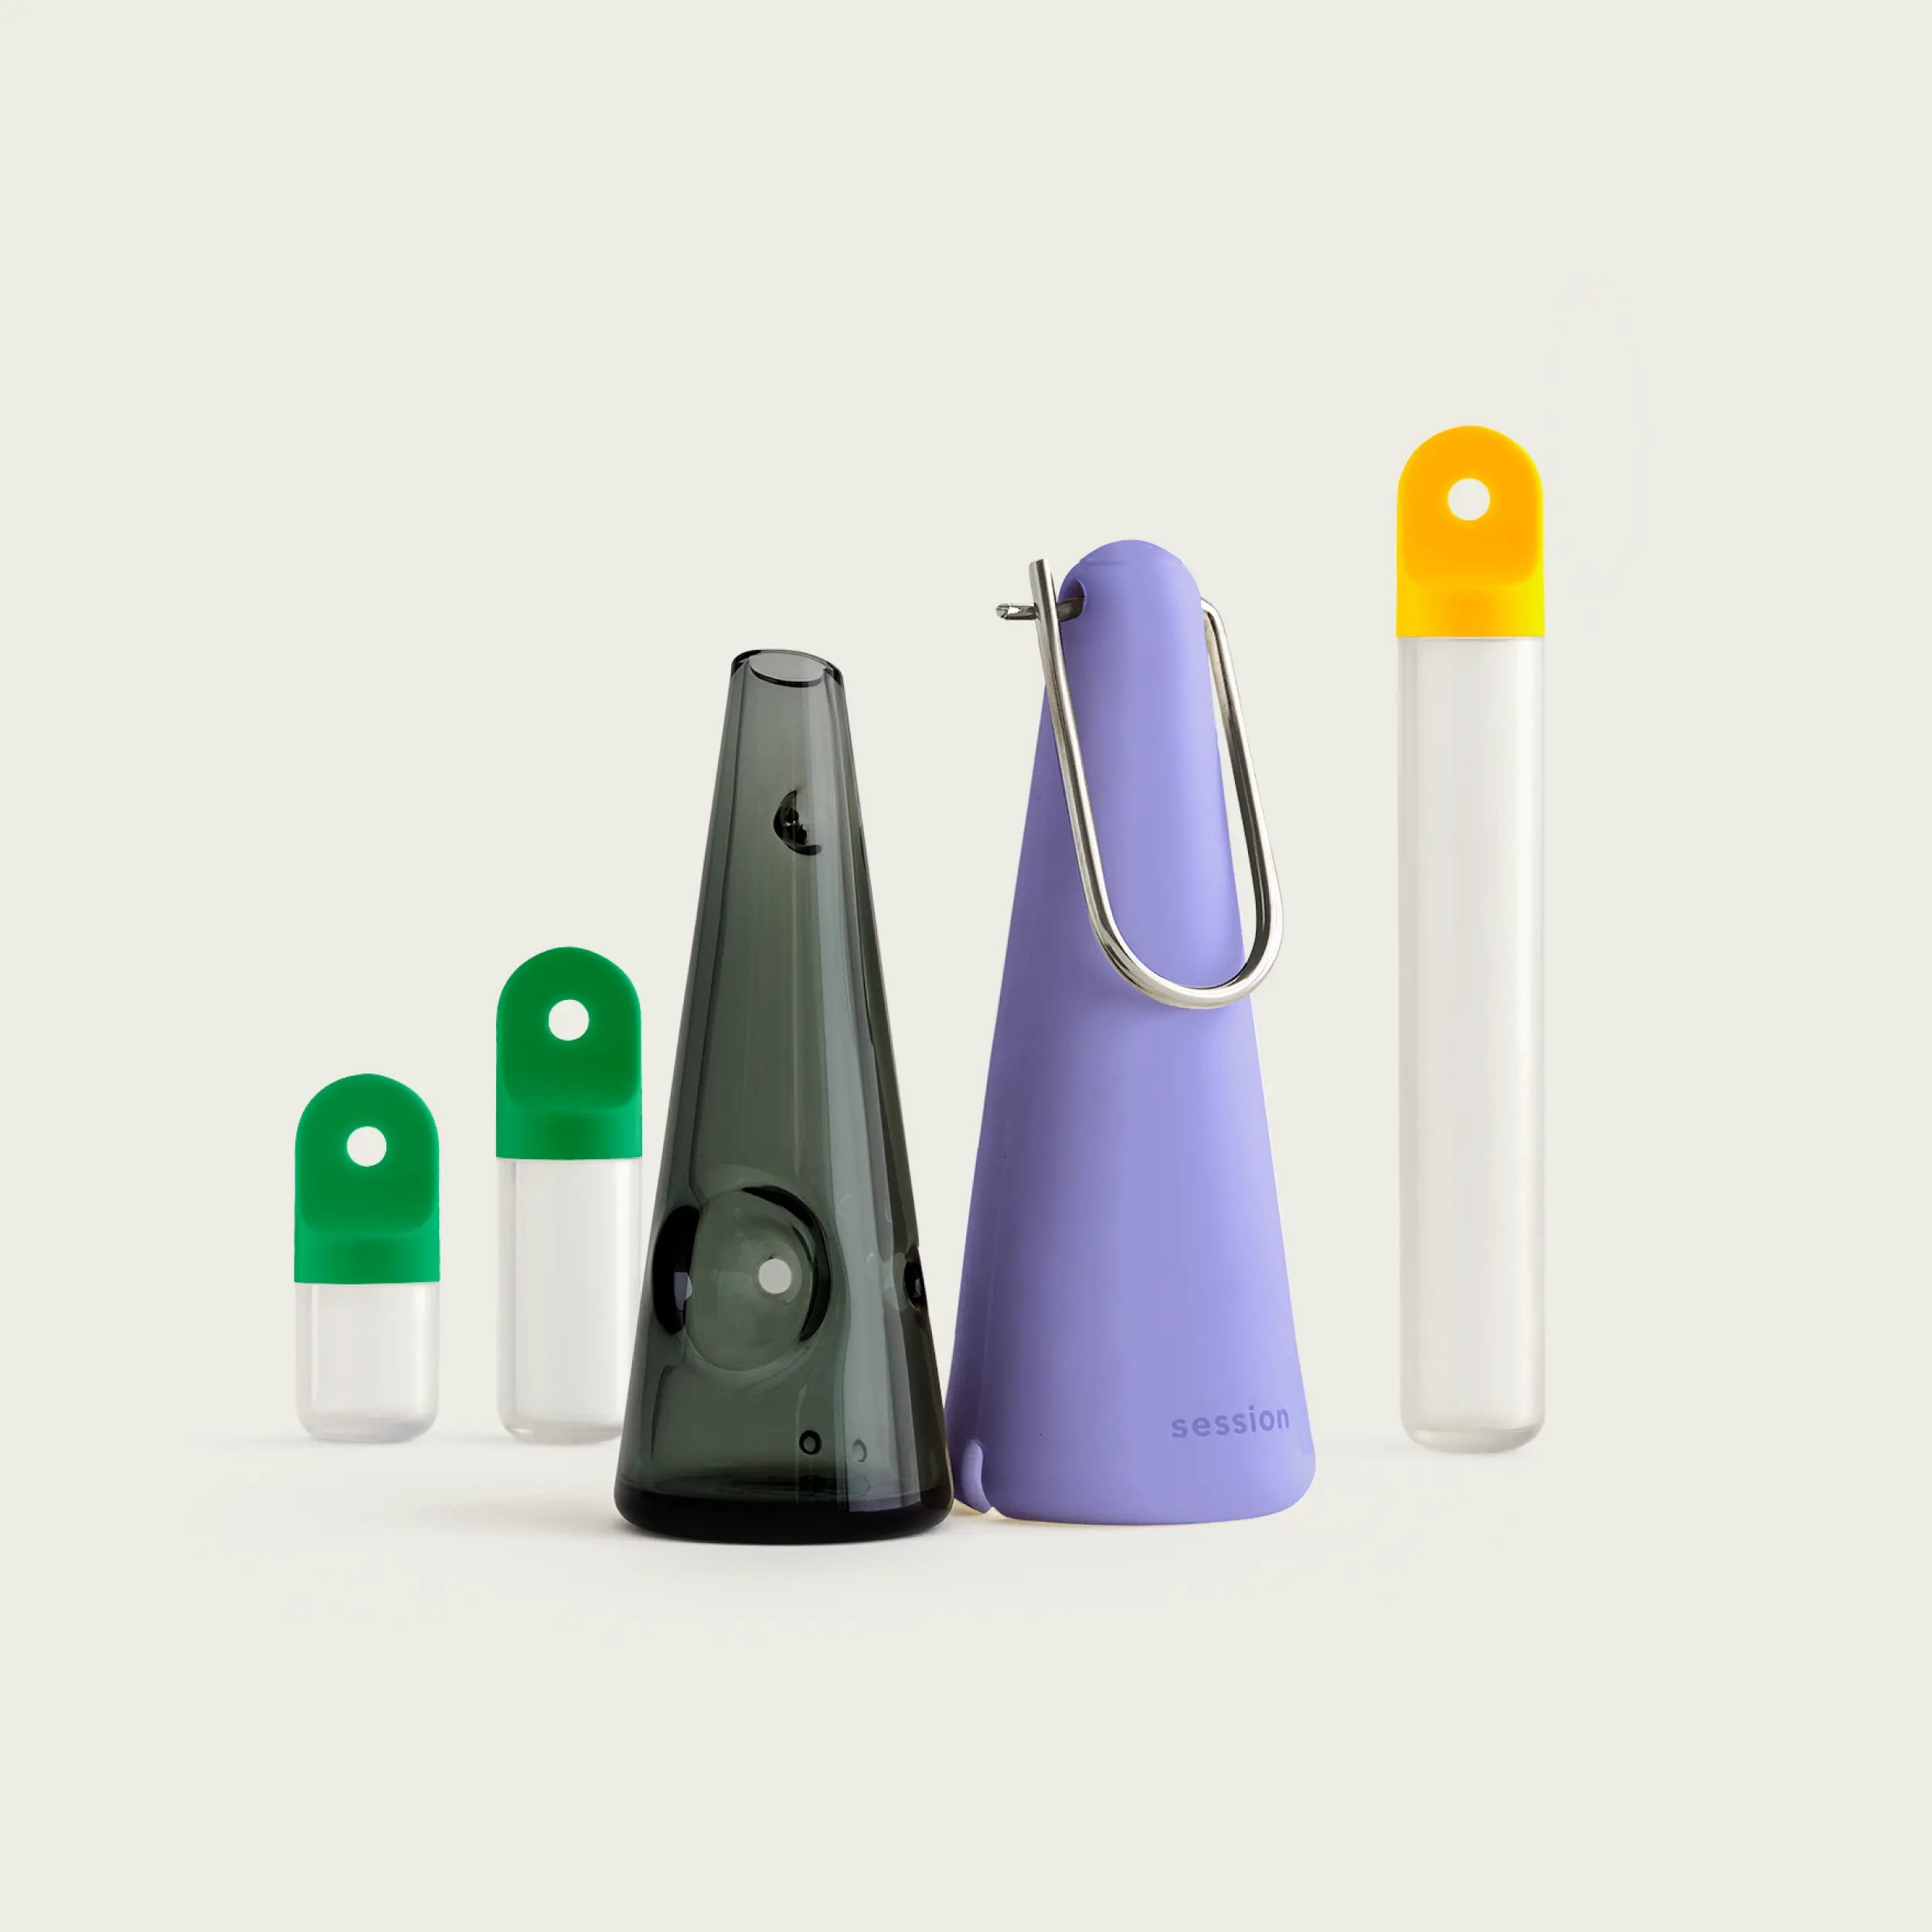
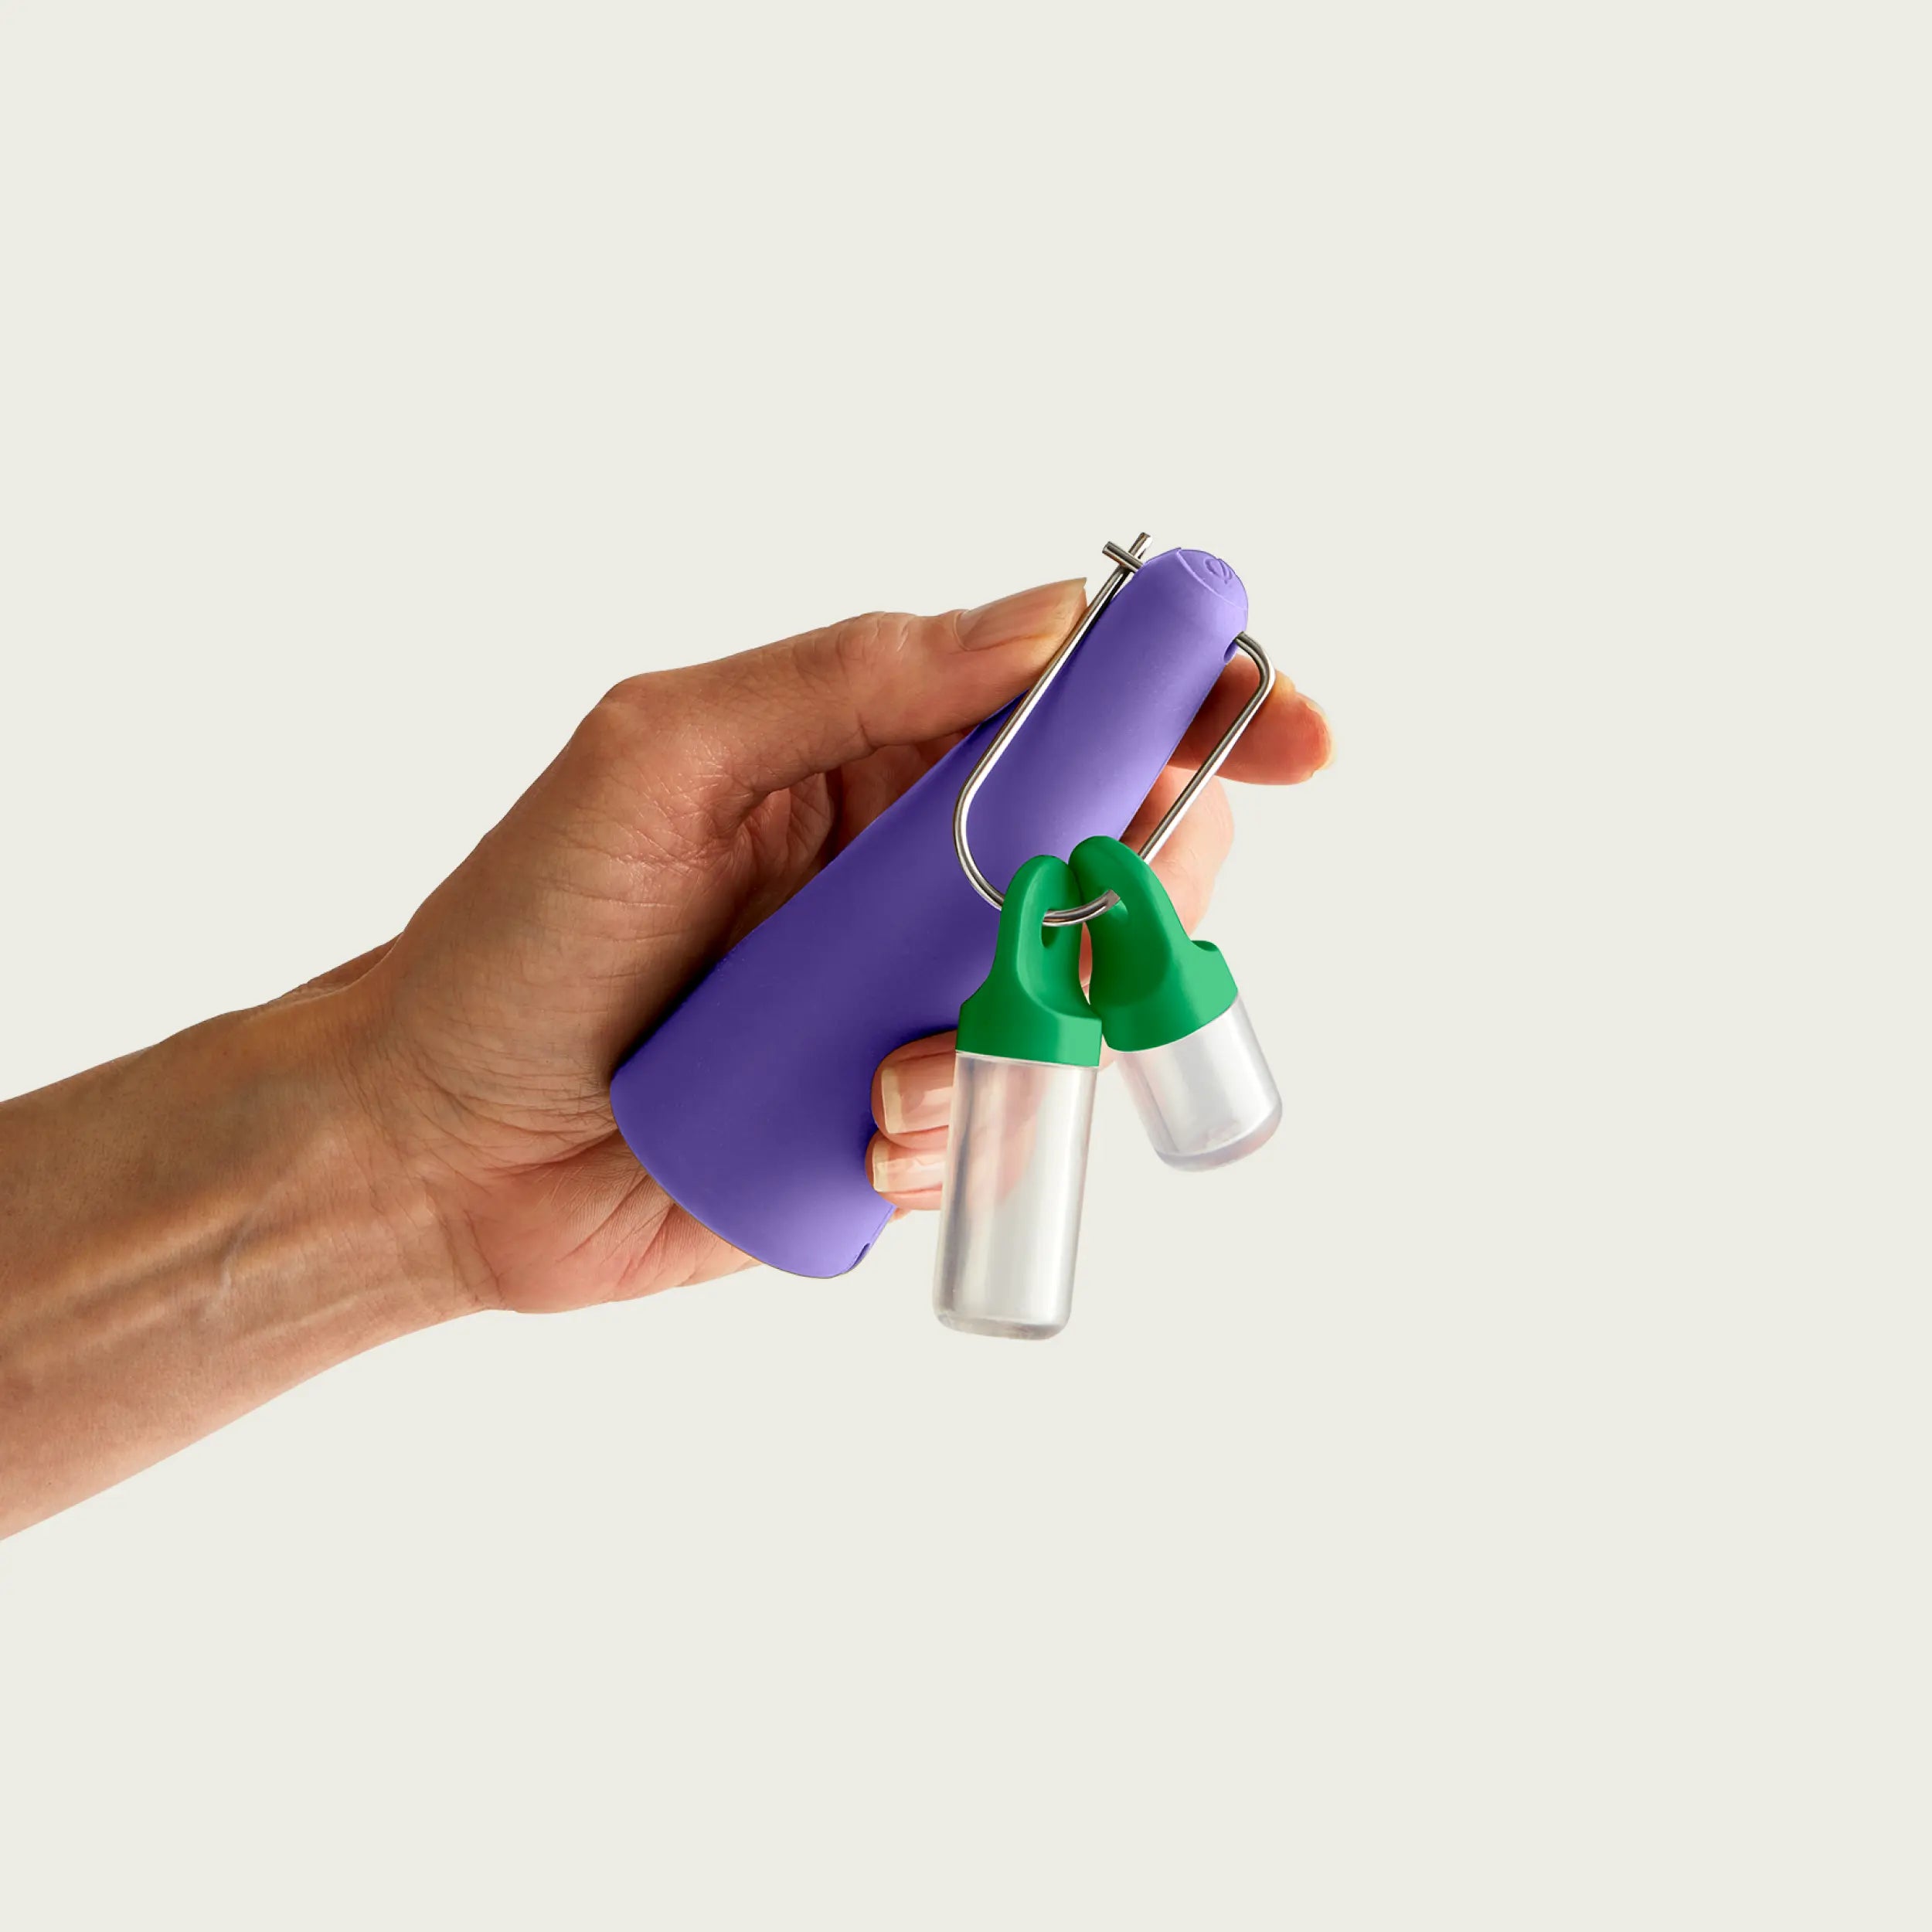
- Session Goods Cleaning Kit
- Mild dish soap
- Rubbing Alcohol (We recommend 91%)
- Coarse salt
- Warm water
- Soft cloth or sponge
Step-by-Step Cleaning Guide
Ashtray Cleaning
-
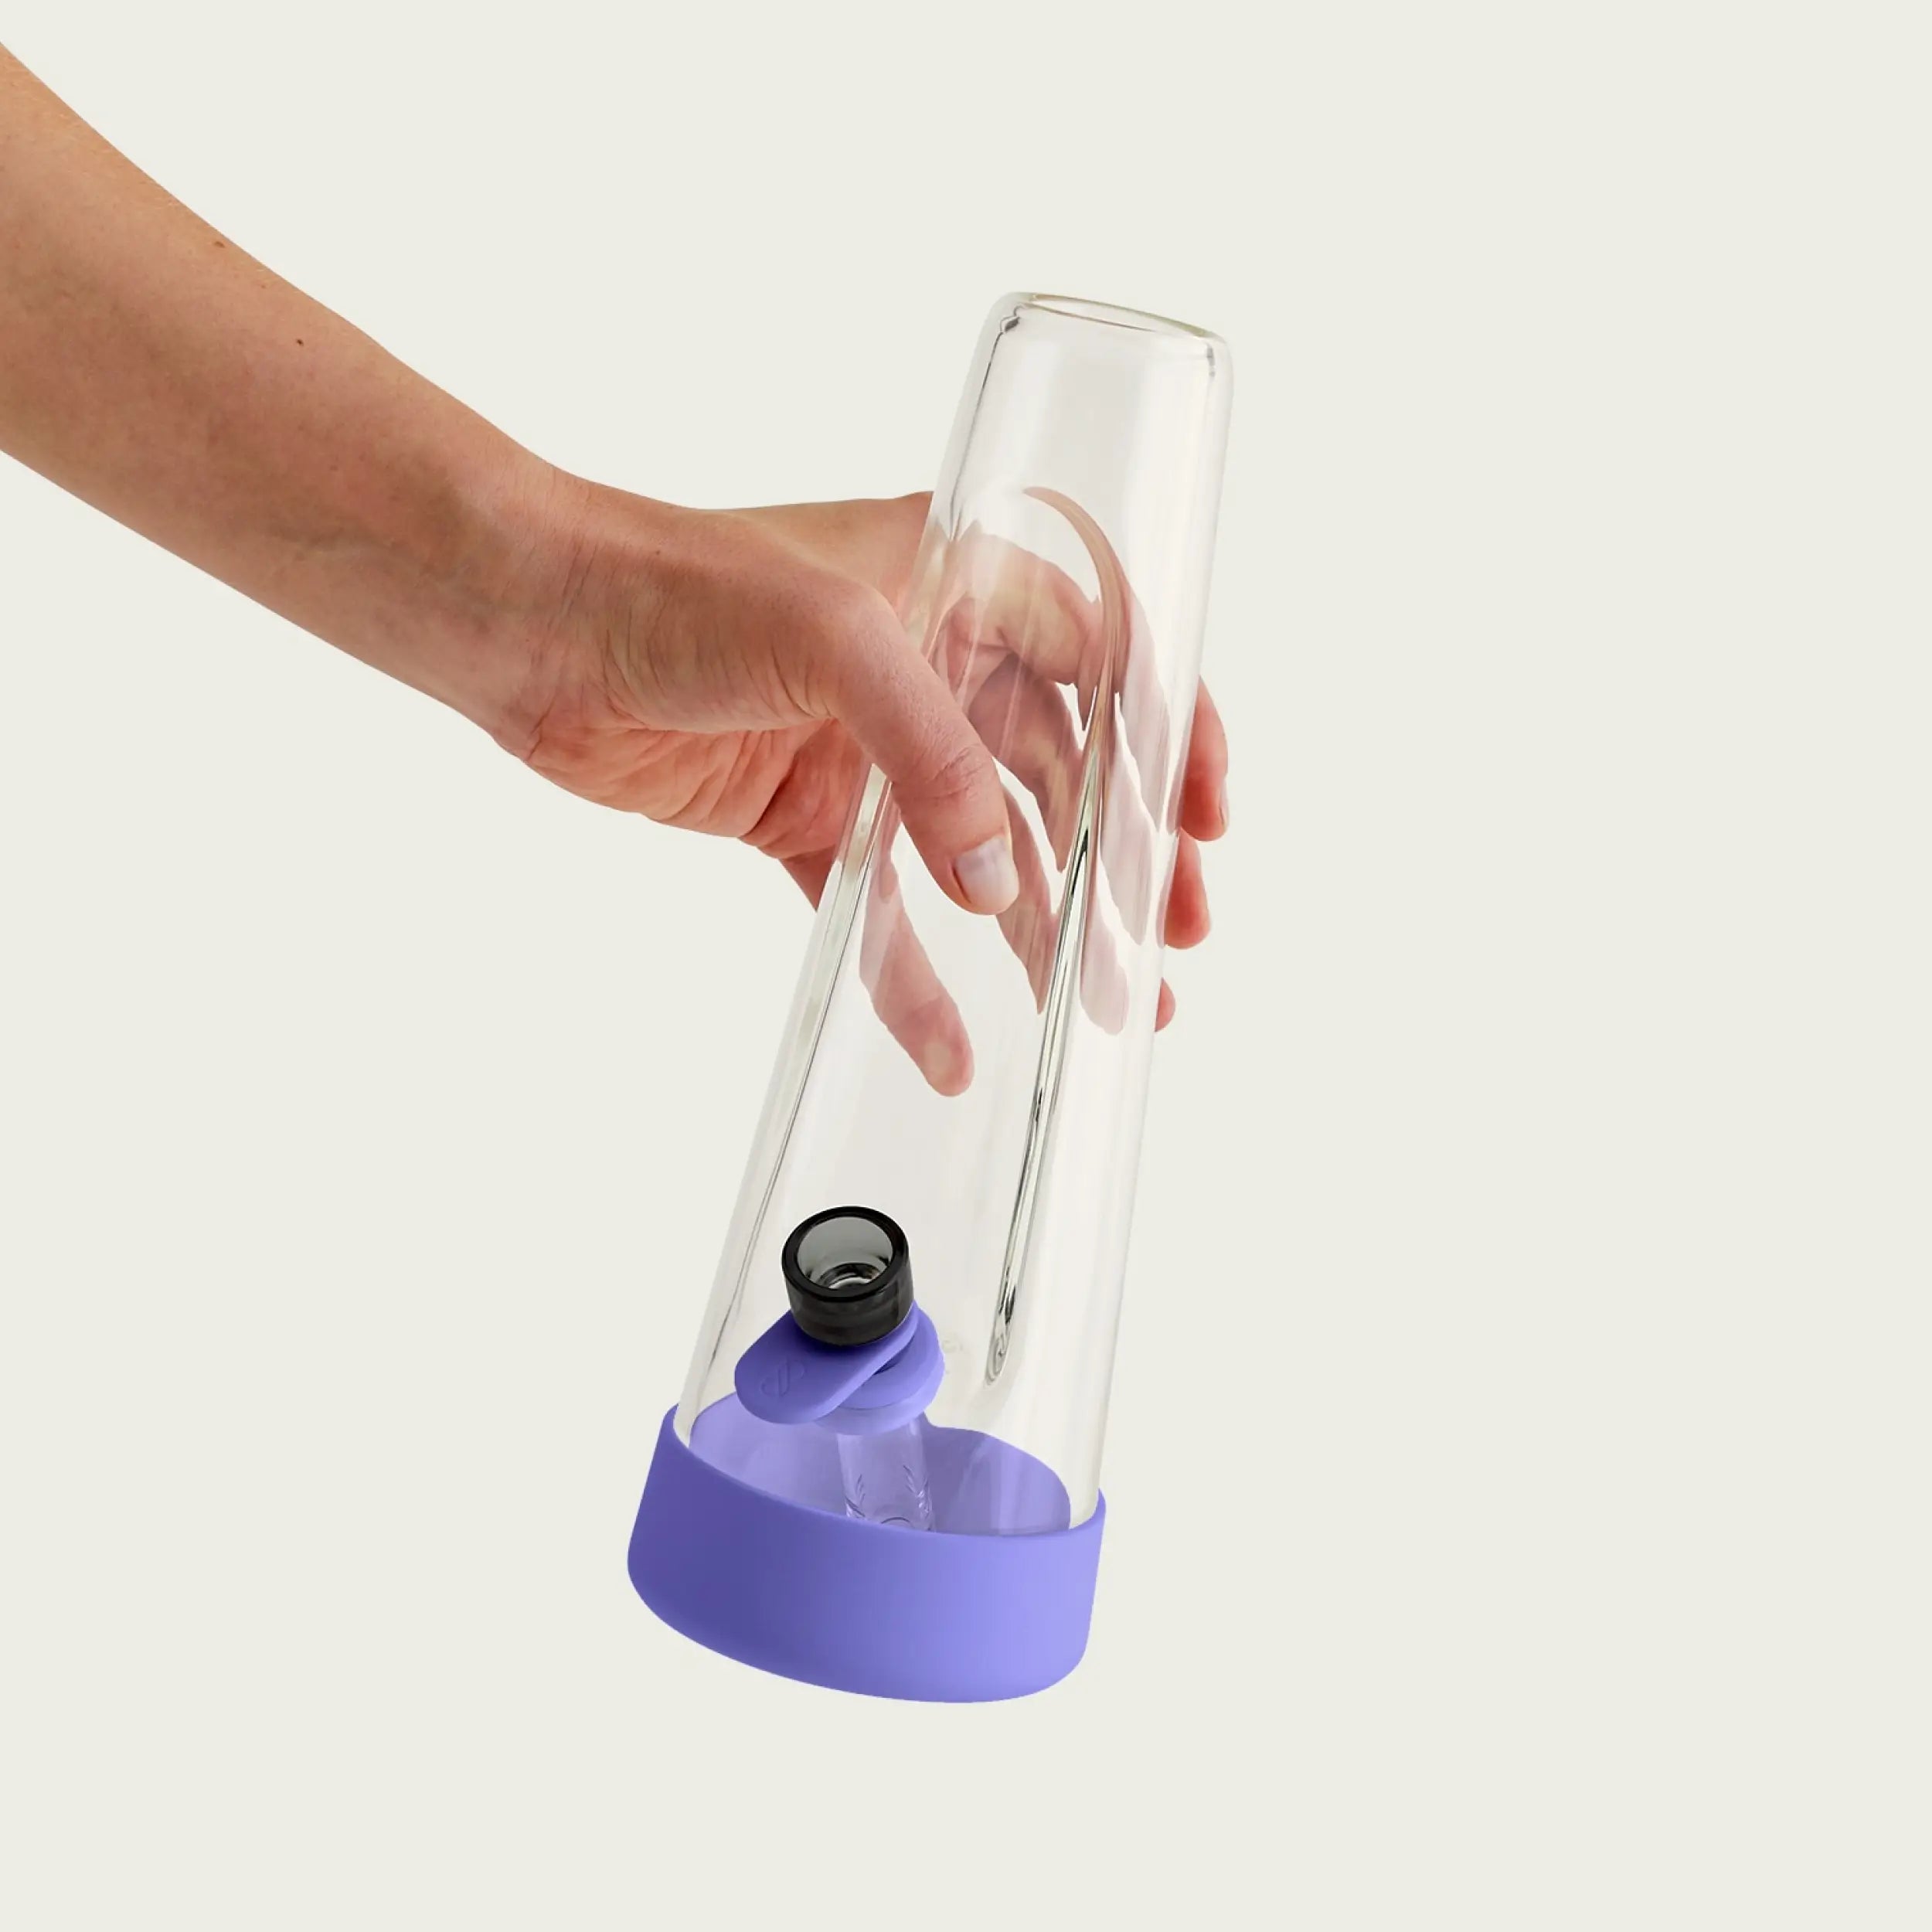
Empty It Out + Remove Silicone
Start by emptying your Ashtray. Give it a gentle tap to get rid of any loose ash or debris. Next separate the Silicone Lid, Silicone Footer and Debowler from the Glass Body of the Ashtray. ** You can toss the Debowler if you plan on replacing it with a new one.
-
Rinse with Warm Water
Rinse the Ashtray and it's pieces under warm water to loosen any residue. This simple step makes the actual cleaning process much easier.
-
Time To Soak
Grab a Tupperware or a bowl and fill it with a small amount of Session Goods Cleaning Solution (or Rubbing Alcohol and coarse salt). Place the glass body in this bowl and let it sit for about 5-10 minutes depending on how dirty your Ashtray has gotten. ** If you're keeping the same Debowler, you can also soak your debowler at this step.
-
Scrub Gently
While your glass body is soaking, use the Cleaning Swabs from your Cleaning Kit or a soft cloth/sponge with a bit of mild dish soap to scrub your Ashtray's silicone lid, and silicone footer. Focus on any areas with built-up residue. Keep it gentle to avoid scratching or damaging the silicone.
-
Tackle Stubborn Spots For those stubborn spots, use a q-tip or the Cleaning Swab if you're utilizing the Session Goods Cleaning Kit and dip it in the Cleaning Solution or Rubbing Alcohol, those will get those out no problem.
-
Rinse and Dry
Once it’s looking spotless, rinse thoroughly with warm water to remove any residue. Dry it with a soft towel or let it air dry. -
Put It Back Together
Once it’s dry, put your Silicone Footer, Debowler, Glass Body, and Silicone Lid all back together so your Ashtray is ready for it's next session.
Stash Jar Cleaning
-
Empty the Jar + Separate Silicone
Remove any contents from the Stash Jar and set them aside in a clean, dry, and safe place. Separate the Silicone Lid and Silicone Base from the Glass Body.
-
Rinse with Warm Water
Rinse the glass body with warm water to remove any loose debris or residue.
-
Wash with Soap
Similar to the Ashtray, grab a Tupperware or a bowl and fill it with a small amount of Session Goods Cleaning Solution (or Rubbing Alcohol). Place the glass body in this bowl and let it sit for about 5-10 minutes depending on how dirty your Stash Jar has gotten.
-
Cleaning the Silicone
Use the Cleaning Swabs from your Cleaning Kit or a soft cloth/sponge with a bit of mild dish soap to scrub your Stash Jar lid, and base. Focus on any areas with built-up residue. Keep it gentle to avoid damaging the silicone.
-
Rinse and Dry
Rinse the glass body thoroughly with warm water to remove any cleaning solution or rubbing alcohol. Dry it completely with a soft towel or let it air dry to avoid any moisture build-up.
-
Complete the Ritual
Now it's dry, put your Silicone Base, Glass Body, and Silicone Lid all back together. Time to put your pieces back in the base and your stash back in the body so your Stash Jar is ready for it's next session.
Keep It Fresh
To maintain that clean vibe, give your ashtray and stash jar a quick rinse weekly. It’s an easy habit that keeps things fresh and hassle-free.
Final Thoughts
Your Session Goods Ashtray and Stash jar are more than just functional items; they’re pieces of art that deserve some TLC. With this guide, you’ll keep them looking pristine and ready for your next chill session.
Happy cleaning 🤝 Happier session
![[in] session blog — Inspiring interviews, articles about cannabis & design](http://sessiongoods.com/cdn/shop/files/session-goods-homepage-insession-blog-mobile_63644ba1-0223-434b-b77e-5f4a30d7375f.webp?v=1692127377&width=600)